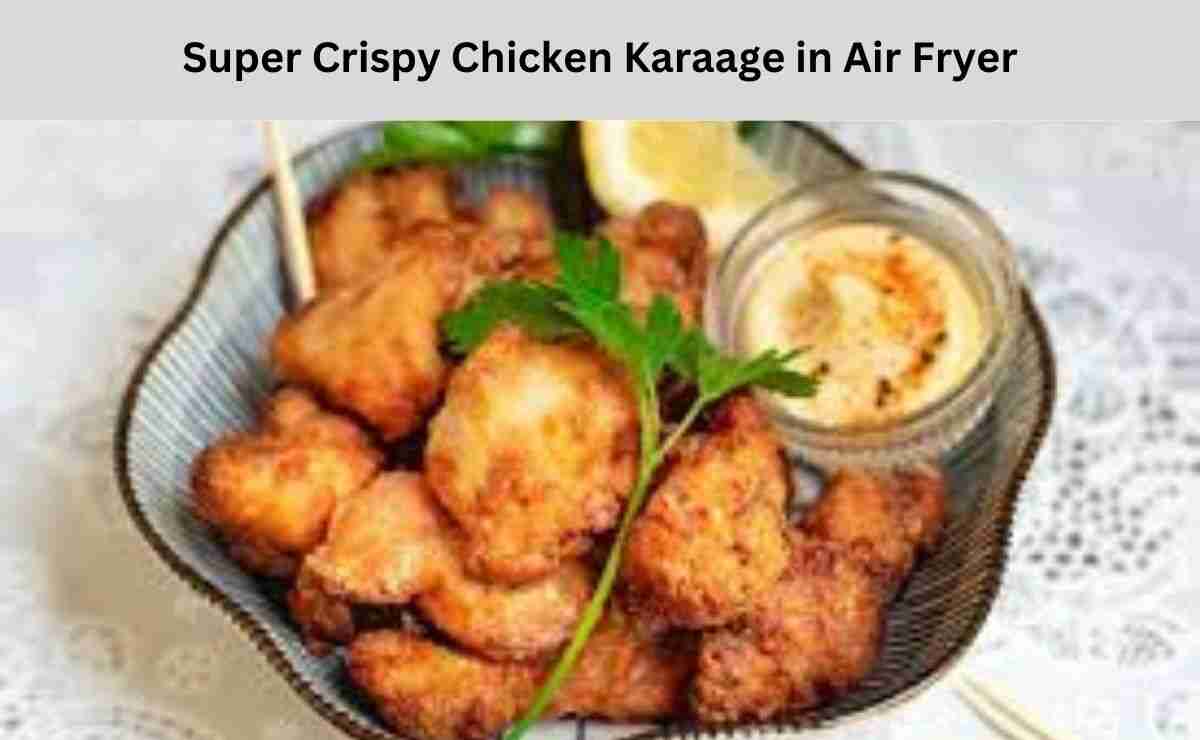
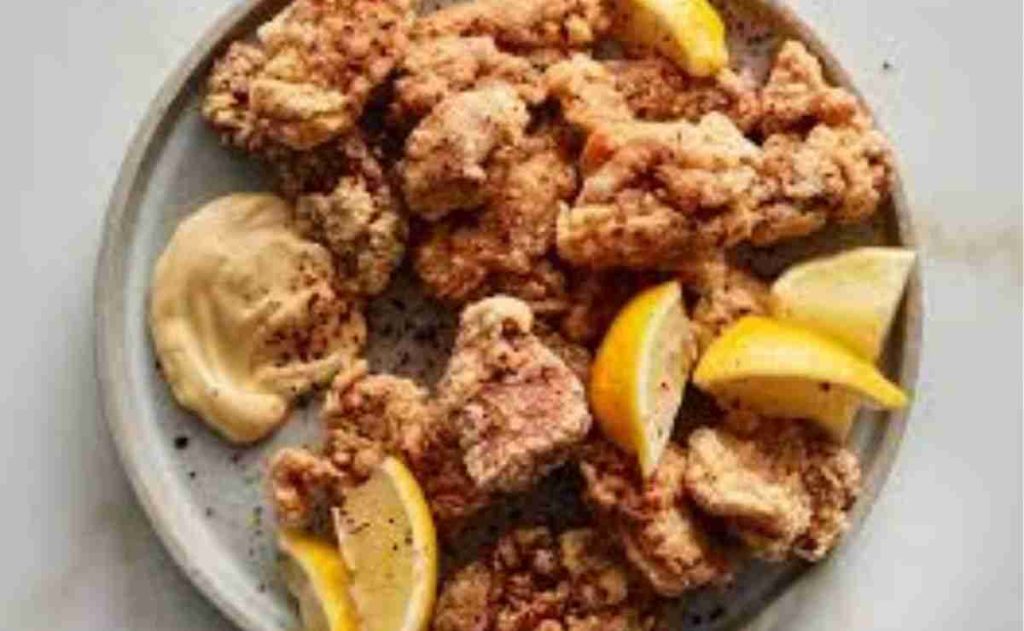
Chicken Karaage in Air Fryer has earned its place as one of Japan’s most beloved fried chicken dishes, combining juicy marinated chicken with an irresistibly crispy coating.
While traditionally deep-fried, modern air fryer technology has revolutionized how we can prepare this iconic dish at home – achieving that sought-after crunch without excessive oil.
Understanding Karaage’s Unique Appeal
Karaage differs significantly from other fried chicken varieties, setting itself apart through its distinctive preparation method and flavor profile.
The secret lies in its two-step process: first, marinating bite-sized chicken pieces in a powerful blend of soy sauce, ginger, and garlic, then coating them in potato starch (katakuriko) or cornstarch before cooking.
This technique creates chicken that’s deeply flavored from within while maintaining an intensely crispy exterior.
What Makes Air Fryer Karaage Special
| Traditional Deep-Fried | Air Fryer Method |
|---|---|
| Oil Temperature: 350-375°F | Air Temperature: 400°F |
| Oil Usage: 4-6 cups | Oil Usage: 1-2 tablespoons |
| Cooking Time: 5-7 minutes | Cooking Time: 12-14 minutes |
| Cleanup: Extensive | Cleanup: Minimal |
| Calorie Content: ~320 cal/serving | Calorie Content: ~250 cal/serving |
The air fryer method offers several advantages while maintaining the authentic taste and texture of traditional karaage.
Using hot air circulation instead of deep oil immersion, it creates a healthier version without compromising on the signature crunch that makes karaage so irresistible.
Super Crispy Chicken Karaage in Air Fryer
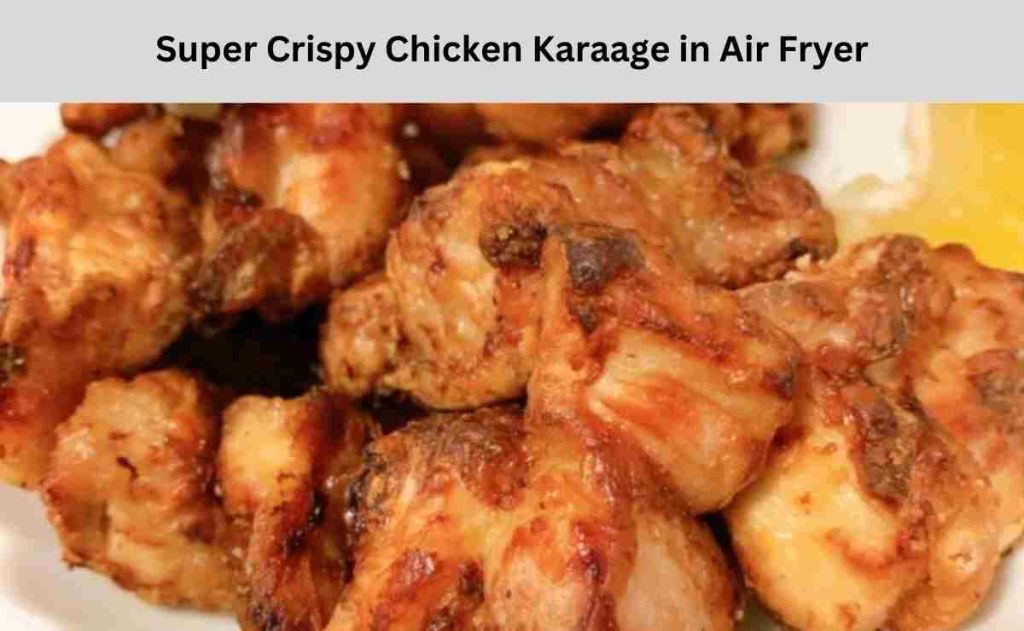
Essential Ingredients for Perfect Karaage
- The Chicken
For authentic karaage, the choice of chicken cut is crucial. While many recipes simply call for “chicken thighs,” let’s break down why certain cuts work better than others:
| Chicken Cut | Pros | Cons | Best For |
|---|---|---|---|
| Thigh (boneless) | • Natural moisture retention • Rich flavor • Ideal fat content | • Slightly higher cost | Most authentic results |
| Breast | • Leaner option • Often on sale | • Can dry out easily • Needs careful timing | Health-conscious versions |
| Tenderloin | • Perfect bite-size • Quick cooking | • Less traditional • Higher cost per pound | Quick preparation |
- The Marinade
The marinade is where karaage develops its signature depth of flavor. Here’s your essential ingredient list with exact measurements and purpose:
| Ingredient | Amount | Purpose |
|---|---|---|
| Soy Sauce | 3 tablespoons | Base flavor, tenderizing |
| Ginger (grated) | 1 tablespoon | Aromatics, meat tenderizer |
| Garlic (minced) | 3 cloves | Depth of flavor |
| Sake | 2 tablespoons | Tenderizing, umami boost |
| Mirin | 1 tablespoon | Subtle sweetness |
| Sesame Oil | 1 teaspoon | Aromatic enhancement |
- The Coating
The secret to achieving that signature karaage crunch lies in your choice of coating:
Primary Option:
- Potato Starch (片栗粉, Katakuriko)
- Creates the crispiest exterior
- Maintains crunchiness longer
- Traditional authentic choice
Alternative Options:
- Cornstarch: 90% as effective, more readily available
- 50/50 Mix: Potato starch + cornstarch for balanced results
- Wheat Flour: Not recommended (creates a heavier coating)
Step-by-Step Air Fryer Karaage Cooking Process
Preparation Phase (30 minutes)
Chicken Preparation
- Cut chicken into 1.5-inch pieces (uniform size is crucial)
- Pat dry thoroughly with paper towels
- Trim excess fat but leave some for flavor
- Temperature tip: Use chicken straight from refrigerator for better coating adhesion
Marination Process (20-30 minutes)
- Combine all marinade ingredients in a bowl
- Add chicken pieces and massage gently
- Cover and refrigerate (do not exceed 4 hours to prevent meat becoming too salty)
Critical Temperature Zones
| Stage | Temperature | Duration | Notes |
|---|---|---|---|
| Preheating | 400°F (200°C) | 3-5 minutes | Essential for initial crispiness |
| First Cook | 380°F (193°C) | 7-8 minutes | Internal cooking phase |
| Final Crisping | 400°F (200°C) | 4-5 minutes | Achieving golden exterior |
The Double-Coating Technique
This professional technique ensures maximum crispiness:
First Coating
- Dust chicken lightly with potato starch
- Let rest for 2 minutes
- Shake off excess
Second Coating
- Re-coat with remaining potato starch
- Press coating gently to adhere
- Rest 3 minutes before air frying
Air Fryer Cooking Method
First Round (7-8 minutes)
- Arrange pieces with space between
- Light spray with oil
- Cook at 380°F
- Shake basket at 4-minute mark
Final Round (4-5 minutes)
- Increase temperature to 400°F
- Spray lightly again
- Cook until golden brown
Troubleshooting Common Karaage Issues
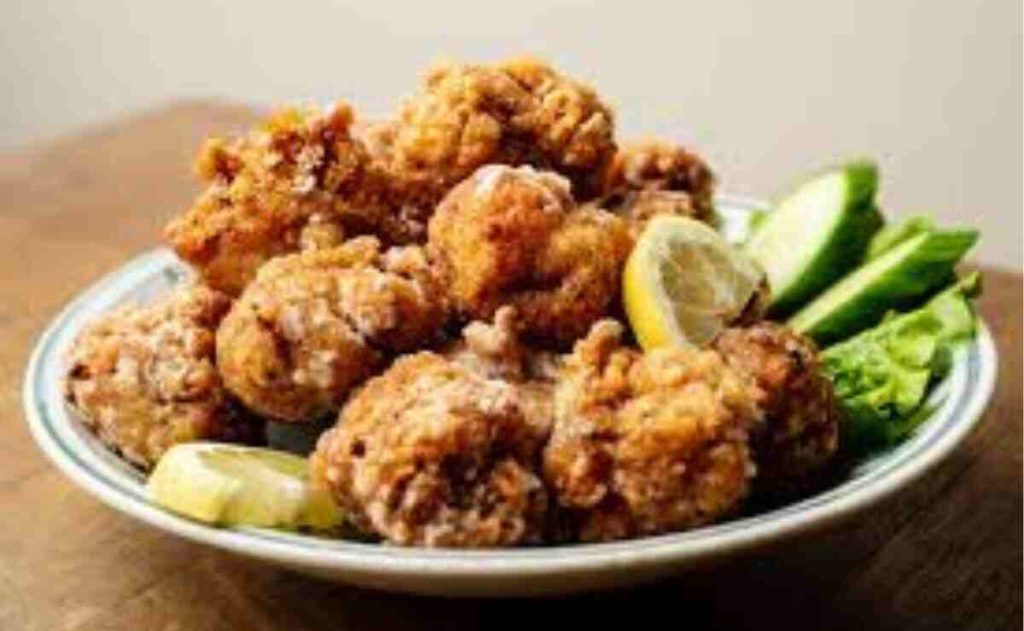
Problem-Solving Guide
| Issue | Possible Cause | Solution |
|---|---|---|
| Coating Falls Off | • Wet chicken surface • Overcrowded basket | • Pat chicken extremely dry • Single layer cooking only |
| Not Crispy Enough | • Insufficient preheating • Too much moisture | • Preheat air fryer fully • Double-coating technique |
| Undercooked Inside | • Pieces too large • Temperature too high | • Cut uniform 1.5-inch pieces • Follow temperature zones |
| Burning Exterior | • Cooking temp too high • Excess oil spray | • Adjust to recommended temps • Light oil spray only |
Storage and Reheating
Storage Guidelines:
- Refrigerator: Up to 3 days in airtight container
- Freezer: Up to 1 month (wrap individually)
Reheating Methods:
Air Fryer Reheating (Preferred)
- Temperature: 350°F (175°C)
- Time: 3-4 minutes
- Light oil spray recommended
Oven Reheating
- Temperature: 375°F (190°C)
- Time: 5-7 minutes
- Place on wire rack
Microwave (Last Resort)
- 30-second intervals
- Place paper towel underneath
- Finish in air fryer for 1 minute to restore crispiness
Serving Suggestions
Traditional Accompaniments:
- Shredded cabbage
- Lemon wedges
- Japanese mayo
- Togarashi seasoning
Modern Pairings:
- Asian-style coleslaw
- Spicy mayo dip
- Ponzu sauce
- Rice bowl setup
Advanced Tips and Variations
Regional Karaage Variations
Different regions in Japan have their unique takes on karaage, which you can recreate in your air fryer:
| Region | Special Feature | Key Ingredients |
|---|---|---|
| Oita Style | Extra garlicky | Double garlic in marinade |
| Nagoya Style | Sweet-spicy glaze | Mirin and chili oil finish |
| Osaka Style | Lighter coating | Single-layer starch coating |
| Toriten Style | Tempura-like | Egg wash before coating |
Health-Conscious Modifications
Lower-Calorie Version
- Use chicken breast
- Reduce oil spray
- Skip second coating
- Calories: ~180 per serving
Gluten-Free Adaptation
- Use tamari instead of soy sauce
- Maintain potato starch coating
- Check sake labels for wheat content
Batch Cooking Guide
| Quantity | Prep Time | Cook Time | Notes |
|---|---|---|---|
| 1 lb | 30 mins | 12-14 mins | Standard recipe |
| 2 lbs | 35 mins | 24-28 mins | Double batches |
| 3 lbs | 45 mins | 36-42 mins | Party size |
Pro Tips for Restaurant-Quality Results
Temperature Management
- Let coated chicken rest 5 minutes before frying
- Never overcrowd the basket
- Maintain recommended temperature zones
Coating Excellence
- Sift potato starch before use
- Press coating firmly but gently
- Use one hand for wet, one for dry ingredients
Common Mistakes to Avoid
- Skipping the marination time
- Using old oil spray
- Opening air fryer too frequently
- Stacking chicken pieces
- Using wet measuring cups for starch
Conclusion
While air fryer karaage might seem complex at first, mastering these techniques will result in restaurant-quality chicken that’s healthier and more economical than traditional deep-fried versions.
Remember that practice makes perfect, and don’t be afraid to adjust the seasonings and timing to match your preferences.
Related Posts
